
Understanding Garage Spring Replacement: A Step-by-Step Guide for Safe and Effective Repairs
Garage doors are integral to the security and functionality of your home, but they rely on complex mechanisms to operate smoothly. One critical component of this system is the garage door spring. Over time, these springs can wear out or break, leading to malfunctioning doors and potential safety hazards. Understanding garage spring replacement is essential for maintaining the optimal performance and safety of your garage door. This guide provides a comprehensive overview of the garage spring replacement process, highlighting safety measures, tools required, and steps for effective repairs.
1. The Importance of Garage Spring Replacement
Garage door springs bear the weight of the door and enable its smooth operation. They come in two main types: torsion springs and extension springs. Torsion springs are mounted above the door and work by twisting, while extension springs are located on either side of the door and stretch to lift the door. Both types of springs can eventually fail due to constant stress and wear.
Replacing a broken or worn-out garage door spring is crucial for several reasons:
- Safety: A malfunctioning spring can cause the door to fall or operate erratically, posing a risk to people and property.
- Functionality: Properly functioning springs ensure the garage door opens and closes smoothly and efficiently.
- Prevention of Further Damage: Replacing a damaged spring promptly can prevent additional stress on other garage door components.
2. Safety Precautions
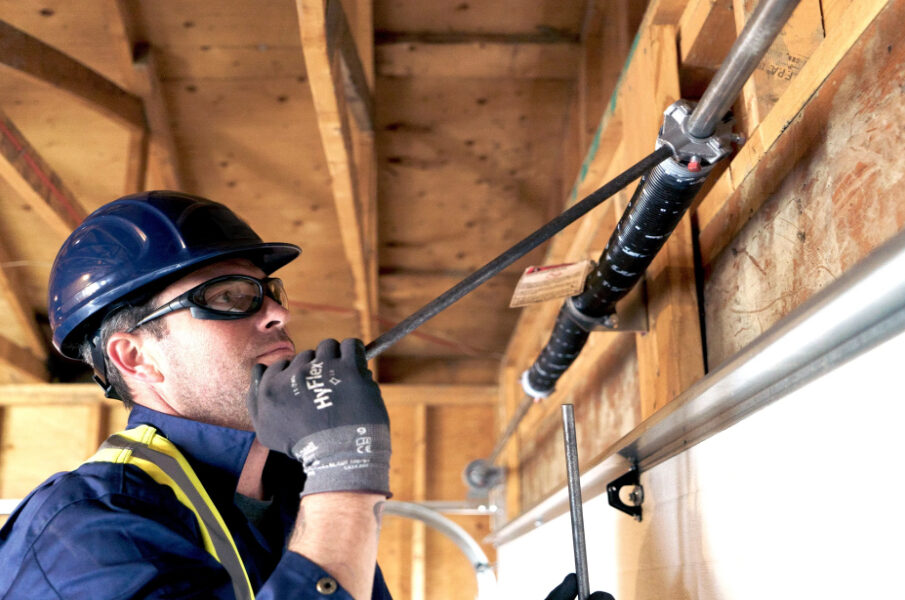
Before beginning any Garage Spring Replacement project, safety is paramount. Springs are under significant tension, and mishandling them can lead to serious injuries. Follow these safety tips:
- Wear Protective Gear: Use safety glasses, gloves, and long sleeves to protect against potential spring breakage and sharp edges.
- Use Proper Tools: Ensure you have the correct tools, including winding bars, a socket set, and pliers.
- Disengage the Door Opener: Disconnect the garage door opener to prevent accidental activation while working on the door.
- Work with a Partner: Having a second person to assist can make the process safer and more manageable.
3. Tools and Materials Required
To replace a garage door spring, you will need the following tools and materials:
- New Garage Door Spring: Ensure the replacement spring matches the type and size of the old spring.
- Winding Bars: These are essential for winding and unwinding the springs safely.
- Socket Set and Wrenches: For removing and installing hardware.
- Pliers: To handle small components and hardware.
- Ladder: To reach the garage door springs safely.
4. Step-by-Step Garage Spring Replacement
Step 1: Inspect the Garage Door
Before starting the replacement, inspect the garage door system to confirm that the springs are the problem. Check for visible signs of wear or damage, such as broken coils or rusted springs. Ensure that other components, such as cables and pulleys, are also in good condition.
Step 2: Disconnect the Garage Door Opener
Safety is crucial when working on garage door springs. Disconnect the garage door opener from the power source to prevent accidental activation. If the door is operated manually, lock it in place to avoid movement during the repair.
Step 3: Release Tension from the Old Spring
To safely replace the spring, you must first release the tension. Use winding bars to carefully unwind the spring. For torsion springs, insert the winding bars into the holes on the spring and rotate them counterclockwise to release tension. For extension springs, disconnect the spring from the pulley system and let it relax.
Step 4: Remove the Old Spring
Once the tension is released, remove the old spring. For torsion springs, you will need to remove the hardware holding the spring in place, such as the center bracket and end brackets. For extension springs, detach the spring from the brackets and pulleys.
Step 5: Install the New Spring
Install the new spring by following the reverse of the removal process. For torsion springs, secure the spring to the center bracket and end brackets, ensuring it is properly aligned. For extension springs, attach the spring to the brackets and pulleys, making sure it is correctly positioned.
Step 6: Re-tension the Spring
After installing the new spring, re-tension it carefully. For torsion springs, use the winding bars to wind the spring in the clockwise direction until it reaches the recommended tension level. For extension springs, reattach the spring to the pulley system and ensure it is properly adjusted.
Step 7: Test the Garage Door
Once the new spring is installed and properly tensioned, test the garage door to ensure it operates smoothly. Open and close the door several times to check for proper balance and functionality. If the door operates correctly, reconnect the garage door opener.
5. When to Seek Professional Help
While DIY garage spring replacement is possible, it can be challenging and risky. If you are uncomfortable performing the replacement yourself or if you encounter issues during the process, consider seeking help from a professional garage door technician. Professionals have the expertise and tools to handle complex repairs safely and effectively.
Conclusion
Understanding garage spring replacement is essential for maintaining the safety and functionality of your garage door system. By following the proper safety precautions and steps, you can effectively replace worn or broken springs and ensure your garage door operates smoothly. Always prioritize safety and consider professional assistance if needed to achieve the best results and avoid potential hazards.


